Abstract:
Oven-baked burgers at 425°F deliver juicy, perfectly cooked results with minimal effort and cleanup.
- Cooking time ranges from 12 to 20 minutes depending on thickness and desired doneness. Use a meat thermometer for precision : 130-135°F for medium-rare, 160-165°F for well-done.
- Form half-inch thick patties with a shallow center depression to prevent bulging. Line baking sheets with foil and parchment, spacing burgers two inches apart for optimal air circulation.
- Season generously with kosher salt and black pepper, or enhance with garlic powder, paprika, and Worcestershire sauce. Add cheese during the final minute of baking.
- Rest burgers five to ten minutes after cooking to redistribute juices. Toast buns in the oven during final cooking minutes for enhanced texture and flavor.
Preparing perfectly cooked burgers in the oven represents a game-changing approach for home cooks seeking consistent results without outdoor grilling equipment. When you set your oven to 425°F, you create an ideal environment for achieving juicy, flavorful patties with minimal effort and maximum convenience. This temperature strikes the perfect balance between developing a nicely browned exterior while ensuring the interior reaches safe eating temperatures. The hands-free nature of oven baking allows you to focus on preparing accompaniments and setting up your meal, making it particularly valuable when feeding multiple people simultaneously.
Optimal cooking time and doneness levels
At 425°F, your hamburger patties typically require 12 to 20 minutes of cooking time, with the exact duration determined by both thickness and your preferred level of doneness. This temperature range provides sufficient heat to create appealing caramelization on the meat’s surface while cooking the center thoroughly. Using a reliable meat thermometer remains essential for achieving precise results rather than relying solely on visual cues or timing estimates.
Different doneness preferences correspond to specific internal temperatures that you should monitor carefully. For those who enjoy medium-rare burgers, aim for an internal reading between 130°F and 135°F, which typically takes 15 to 18 minutes. Medium doneness occurs at 140°F to 145°F, while medium-well patties reach 150°F to 155°F after approximately 12 to 15 minutes. Well-done enthusiasts should cook until the thermometer registers 160°F to 165°F, ensuring complete safety according to food handling guidelines.
The thickness of your patties significantly impacts cooking duration. Standard half-inch thick burgers cook more quickly than thicker preparations, so adjust your timing accordingly. Insert your thermometer into the center of the thickest patty to get an accurate reading, as burgers continue cooking slightly after removal from the oven due to residual heat.
| Doneness level | Internal temperature | Approximate time at 425°F |
|---|---|---|
| Medium-rare | 130°F to 135°F | 15 to 18 minutes |
| Medium | 140°F to 145°F | 13 to 16 minutes |
| Medium-well | 150°F to 155°F | 12 to 15 minutes |
| Well-done | 160°F to 165°F | 18 to 20 minutes |
Preparing patties and setting up your baking sheet
Creating well-formed burger patties begins with selecting appropriate ground beef. Most experienced cooks recommend an 85/15 or 90/10 fat-to-lean ratio, which provides sufficient moisture without creating excessive grease. Handle your meat gently when forming patties, as overworking creates dense, tough results rather than tender hamburgers. Aim for approximately four ounces per patty, shaping them about half an inch thick and three to four inches in diameter.
One crucial technique involves creating a shallow depression in the center of each patty using your thumb. Press this indentation about halfway through the meat, roughly one inch in diameter. This prevents the common problem of burgers bulging during cooking, ensuring they maintain an even thickness from edge to edge. As the proteins contract with heat, this depression fills in, producing flat, evenly cooked patties.
Proper pan preparation simplifies cleanup considerably while promoting even cooking. Line your rimmed baking sheet with aluminum foil, then add a layer of parchment paper on top. This combination prevents sticking while making post-meal cleanup remarkably easy. Space your patties at least two inches apart to allow proper air circulation around each burger, which promotes even browning and prevents steaming.
For enhanced results, consider placing a wire cooling rack inside your baking sheet. This elevates the burgers above rendered fat, allowing grease to drip away while creating appealing grill marks on the bottom surface. If you choose this method, spray the rack lightly with cooking spray before arranging your seasoned patties. This technique works particularly well when using fattier ground beef that produces more drippings during cooking.
Seasoning strategies and flavor enhancements
Basic seasoning starts with kosher salt and freshly ground black pepper applied generously to both sides of your patties. This simple approach allows the beef’s natural flavor to shine while providing essential taste enhancement. Apply approximately two teaspoons of salt total for four burgers, ensuring visible black pepper coverage across the surface.
For those seeking more complex flavor profiles, numerous seasoning options exist beyond the basics. Consider incorporating garlic powder, onion powder, smoked paprika, or cayenne pepper into your blend. One effective combination includes half a teaspoon each of garlic powder, onion powder, salt, black pepper, and paprika, plus a quarter teaspoon of cayenne per pound of beef. Mix these directly into the meat before forming patties for thorough flavor distribution.
Adding moisture-rich ingredients to your ground beef mixture creates exceptionally juicy results. Worcestershire sauce, approximately two tablespoons per three pounds of meat, contributes both moisture and depth of umami flavor. Hot sauce mixed into the beef adds pleasant heat while preventing dryness during cooking. Some cooks incorporate diced onions or jalapeños directly into the meat for textural variety and flavor pockets throughout each bite.
Finishing touches and serving suggestions
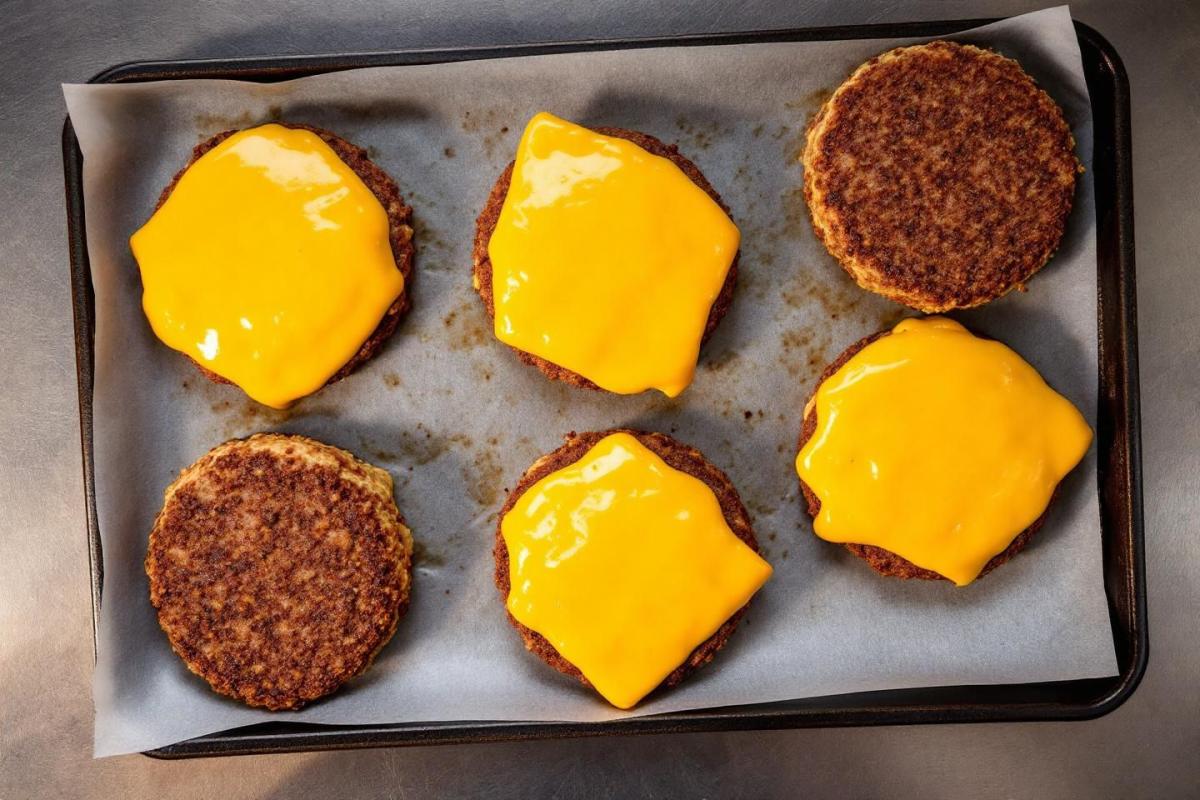
Once your burgers reach the desired internal temperature, remove them promptly from the oven. Transfer the patties to a clean plate and allow them to rest for five to ten minutes. This resting period allows juices to redistribute throughout the meat, preventing them from running out when you bite into your burger. If you’re preparing cheeseburgers, add cheese slices during the final minute of baking, returning the pan briefly to melt the cheese perfectly.
Toasting your buns enhances both texture and flavor significantly. Place bun halves cut-side up on a separate baking sheet during the last few minutes of cooking time. Alternatively, assemble your burger on the bun, wrap it in aluminum foil, and place it in the hot oven for two to four minutes. This aluminum foil technique creates a steamy environment that simultaneously softens and toasts the bun while melting cheese to perfect consistency.
Traditional accompaniments pair wonderfully with oven-baked burgers. Consider serving alongside :
- Crispy french fries or sweet potato variations
- Classic coleslaw or potato salad preparations
- Fresh vegetable salads with seasonal ingredients
- Oven-baked vegetables like cauliflower tots
If you’re exploring alternative cooking methods for other proteins, you might enjoy learning how to cook a steak in an air fryer or discovering how long to cook pork chops in an air fryer for additional weeknight dinner inspiration.
The versatility of oven-baked hamburgers extends beyond immediate serving. Leftover patties store well in airtight containers for up to two days, providing convenient options for quick meals. This method proves particularly valuable when cooking for crowds, as you can prepare multiple burgers simultaneously with consistent results across all patties. The combination of convenience, minimal cleanup, and reliable outcomes makes this technique an invaluable addition to your cooking repertoire.