Abstract:
Cooking riblets at 400°F requires careful timing and technique for tender, flavorful results.
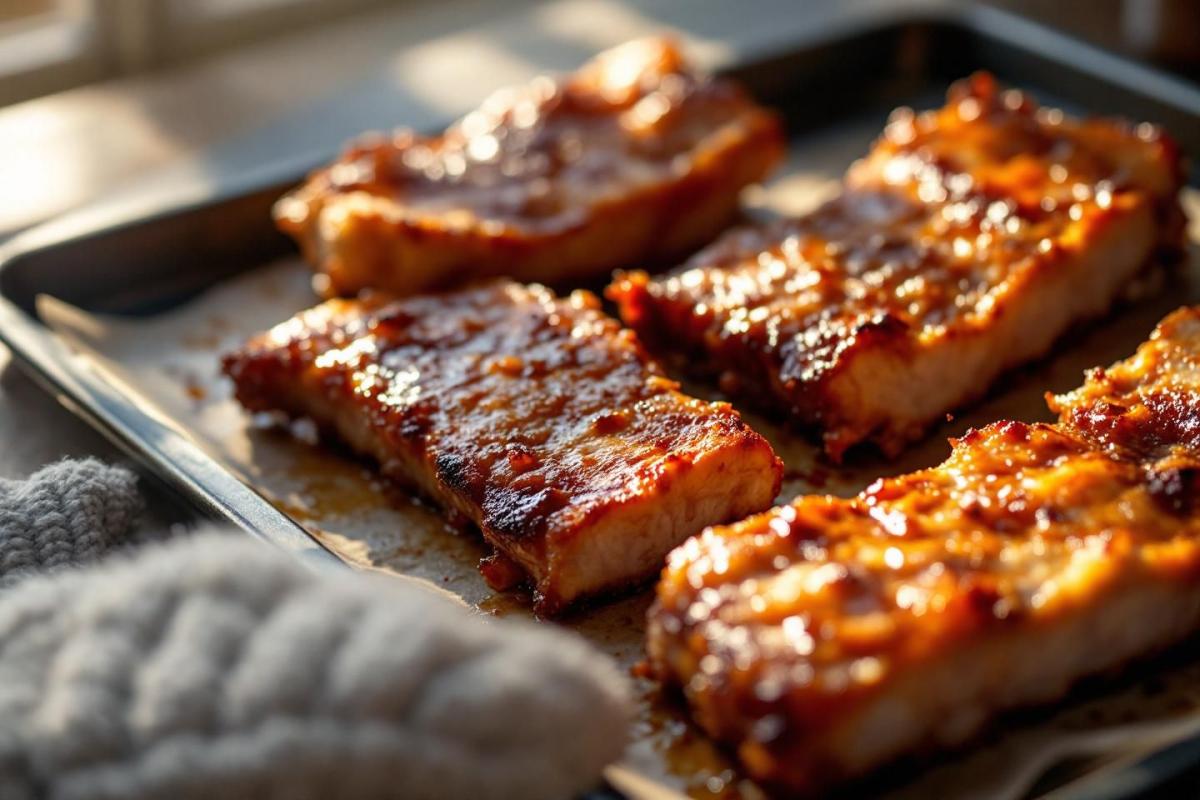
- Standard method involves 40 minutes total (20 minutes per side), then broiling with sauce for 1-2 minutes until caramelized
- Foil packet technique at 400°F needs 80-90 minutes to properly break down connective tissue and achieve fork-tender texture
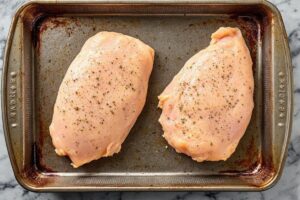
- Proper preparation includes removing membrane, applying dry rub generously, and positioning fat side up initially
- Sauce timing is crucial—apply only during last 10-15 minutes to prevent burning while creating glossy coating
- Internal temperature should reach 180°F minimum, though 200°F delivers maximum tenderness and collagen breakdown
Cooking riblets at the right temperature transforms these economical cuts into tender, flavorful bites that rival any steakhouse offering. When preparing these smaller rib portions at 400°F, understanding the proper timing and technique ensures perfectly cooked results every time. These cuts, created when butchers trim spare ribs into uniform shapes, offer incredible value while delivering the satisfaction of bone-in meat with minimal effort.
Understanding the 400°F cooking method
When you choose to cook riblets at 400°F, the process typically requires 40 minutes total cooking time for optimal results. This method involves baking the meat for 20 minutes on one side, flipping the pieces carefully, then continuing for another 20 minutes. After this initial cooking period, you’ll apply your barbecue sauce and switch to broiling for 1-2 minutes until the surface caramelizes beautifully.
However, many culinary experts note that higher temperatures can work against the tender texture you’re trying to achieve. At 400°F or 200°C, riblets may cook too rapidly, preventing the tough connective tissue from breaking down properly. If you insist on using this temperature, especially when cooking in foil packets, you should extend your cooking time to 80-90 minutes. This longer duration allows the collagen within the meat to dissolve gradually, creating that fork-tender quality everyone loves.
The challenge with 400°F lies in balancing speed with tenderness. While this temperature browns the exterior nicely, it doesn’t provide the gentle, prolonged heat that transforms these cuts from chewy to succulent. For comparison, techniques like how long to cook tri tip in the oven also emphasize the importance of temperature control for optimal results. The meat should reach an internal temperature of at least 180°F, though 200°F proves ideal for maximum tenderness.
Preparation techniques for perfect results
Before your riblets even enter the oven, proper preparation sets the foundation for success. Begin by cutting between the bones to separate individual pieces, then arrange them in a single layer on a foil-lined baking sheet sprayed with cooking spray. Removing the membrane from the underside, though sometimes tedious, significantly improves the final texture and allows seasonings to penetrate the meat more effectively.
Creating a flavorful dry rub represents the next crucial step. A well-balanced blend typically includes :
- Paprika for color and mild sweetness
- Garlic powder and onion powder for savory depth
- Dry mustard providing tangy complexity
- Salt and pepper forming the foundation
- Chili powder adding gentle heat
Apply this seasoning generously to all surfaces, pressing it gently into the meat to ensure adhesion. The spices will form a crust during cooking that complements the sauce beautifully. Place riblets with the fat side facing upward initially, allowing the rendering fat to baste the meat naturally as it cooks. This technique shares similarities with other slow-cooking methods, including how to cook a brisket in the oven, where fat positioning matters significantly.
For those preferring the foil packet method, create a generous piece of foil, spray it thoroughly, position your seasoned riblets meatier side up, brush with barbecue sauce only on top, then fold the foil carefully to create a sealed packet. Place this packet in a glass baking dish rather than a dark pan, which can cause the sauce to burn onto the foil.
Sauce application and finishing touches
Timing your sauce application correctly prevents burning while maximizing flavor. Because barbecue sauce contains sugars that caramelize quickly, applying it at the start guarantees burnt, bitter results rather than the glossy, sticky coating you desire. Instead, wait until the last 10-15 minutes of cooking before introducing your sauce.
Whether you choose homemade or store-bought varieties, the consistency matters significantly. Homemade versions typically combine brown sugar, paprika, dry mustard, chili powder, Worcestershire sauce, vinegar, tomato sauce, and ketchup. This mixture starts very thin but thickens considerably as it bakes, creating that signature glaze. The sauce volume may seem excessive initially, but it reduces substantially during cooking.
| Temperature | Initial Cooking Time | Sauce Application | Final Cooking Time |
|---|---|---|---|
| 400°F (standard) | 40 minutes | After 40 minutes | Broil 1-2 minutes |
| 400°F (foil packet) | 80-90 minutes | Last 10 minutes | Continue until tender |
| 450°F then 350°F | 15 minutes browning | After temperature reduction | 90-120 minutes at 350°F |
The broiling stage proves essential for achieving that caramelized, restaurant-quality finish. After brushing with additional sauce, position your riblets close to the broiler element and watch carefully. Within 1-2 minutes, the sugars will bubble and darken, creating a beautiful sheen. For honey-based glazes, reserve half for this finishing step, as honey caramelizes particularly rapidly under intense heat.
Serving suggestions and storage tips
Once your riblets emerge from the oven, allow them to rest briefly before serving. These pieces are traditionally finger food, meant to be picked up and nibbled directly from the bone. Plan for approximately three pieces per person when serving alongside complementary dishes, though appetites vary considerably.
Pairing options include grilled corn on the cob, southern potato salad, baked beans, coleslaw, and smoked mac and cheese. These sides balance the rich, fatty nature of the meat while providing textural variety. Have plenty of napkins available, as this remains a wonderfully messy eating experience that encourages casual enjoyment.
Leftover riblets store well in covered containers for 3-4 days refrigerated. Consider removing the meat from the bones before storage if you plan to incorporate it into other dishes. Reheating takes just 1-2 minutes in the microwave on high power, though oven reheating at 350°F preserves texture better. Understanding these storage principles ensures you maximize your investment in these economical cuts while maintaining food safety standards throughout the week.